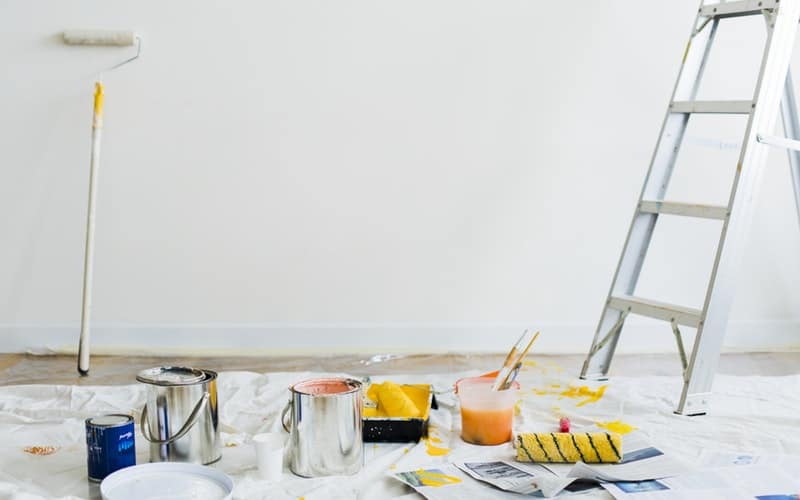
Painting the walls in a room can be an easy task, compared to some other home improvement projects that may take a lot more time and effort. Learn how to fix paint streaks on walls to do it yourself.

Sounds easy enough? But wait, now as paint on the wall dries, the blemishes or flaws will start to come out. Which typically happens after cleaning and putting everything away. That is just perfect! These blemishes, or flaws, are streaks that appear as the paint on the wall dries.
So where do these streaks come from? How does one fix these streaks? The answer is here with this guide on how to fix paint streaks on walls.
Prepping the Wall
It all starts with the prep. As previously stated, the streaks usually don’t appear until the paint begins to dry. However, there are a few things that one can do prior to painting, that could help to avoid those streaks. Cleaning the walls is an excellent place to start. Priming the wall is also another way. Adding another step and more dry time to a project doesn’t sound fun, but this investment will pay off at the end.
Slow Down
Take a slow and easy approach when applying paint to the walls. Remember it is not a race. Of course, no one wants to extend the project longer than it needs to be, but slow down. Make sure to use smooth, even strokes, making sure to distribute the paint evenly off the roller. What, is even more important is to make sure to apply paint to the roller consistently. This will help to ensure the roller has enough paint.
Apply Another Coat
It happens. One can do all the prep work necessary, and there may still need to be some work done at the end. After applying the first coat of paint, sometimes adding another coat does the trick or as many as necessary for the desired result. Make sure that the previous layer is completely dry before applying the additional coats.
Streaks can appear when trying to save paint. With every roll, less and less paint remains on the roller. When applying the first coat make sure there is enough paint on the roller, but not too much, to avoid drips.
Patch Job
There are a few times when the whole room doesn’t necessarily need to be repainted, just some small areas, or patches, around the room. When the paint is completely dry cover the unpainted areas with another coat of paint, making sure to feather the edges to help blend the new coat of paint in with the surrounding areas.
Sanding
Ahh, the dust. Sanding, although messy, can sometimes be a necessary fix, especially when dealing with drip marks or uneven paint and this usually starts with the roller. When applying too much paint to the wall, it may run and cause drip marks along with streaks.
If this is the case, scrape the drips off using a scraper and/or sand the area until it is smooth. Be mindful not to take off the underlying paint. After sanding, use a damp cloth to clean the area, making sure to remove any dust and paint from the area. Then wait until the area is completely dry and simply repaint.
Conclusion
All in all, painting can still be a fun and simple project, but like everything else, the investment, in the beginning, can pay off big in the end. So, get those samples and pick up that paint roller or brush and get to making that room complete. And if there are streaks at the end, no worries, at least now one knows how to fix those streaks.

Leave a Reply
You must be logged in to post a comment.