Household projects and updated can be expensive. So, when it comes to having to paint, that is a project that most people will take up on their own, and why not? It is a not only a relatively easy process, but it is much more affordable. However, there will be some challenges, especially with a novice painter.
Also, what better way to paint a wall quickly without streaks and effectively is with the use of a roller. Everyone has probably used a roller at some point in their life with much different results. Fortunately, there are some tricks, tips, and techniques out there that can make a novice look like an expert, especially when it comes to painting with a roller. So, what’s the secret? Here they are, 7 paint roller tips that can help turn a novice painter into an expert.
7 Paint Roller Tips & Tricks
Well, here are 7 best tips and tricks of paint roller. If you follow these tips and tricks, you can choose a perfect pain roller and can maintain it easily. So lets go we check the article and see what’s included here.
1. Choose the Right Roller
Choosing the right roller to paint with, will depend on the texture and surface. It all starts with the nap. Natural and synthetic fibers make up a roller’s nap, and they vary in a range of lengths. A good rule of thumb is the longer the nap, the more paint it will hold. A ¼-inch nap works best on smooth and fine surfaces. While a roller with a 3/8-inch nap is perfect for smooth to lightly textured walls and a ½ inch nap works best on walls with a medium-rough surface.
2. Remove the Lint
After removing the roller from its packaging, there can be small traces of lint, that if not removed, will end up on the wall. Use painter’s tape or a vacuum to try and remove as much of the lint and dust as possible before putting the roller into the paint. The same applies to the surfaces before painting. Make sure to remove any dirt or debris before rolling. Nothing will make a freshly painted wall look worse than painted over dirt and debris.
3. Wet the Nap
Dampen the roller with a damp cloth before applying the paint. A damp nap will allow the roller to absorb more paint from the start. Another tip is when taking a break from painting, take the saturated roller and wrap it up tightly in plastic squeezing out all the air. As long as there is contact between the plastic and with the nap on the roller, it will stay wet for a couple of days. Remove the plastic from the roller when ready to use and start painting.
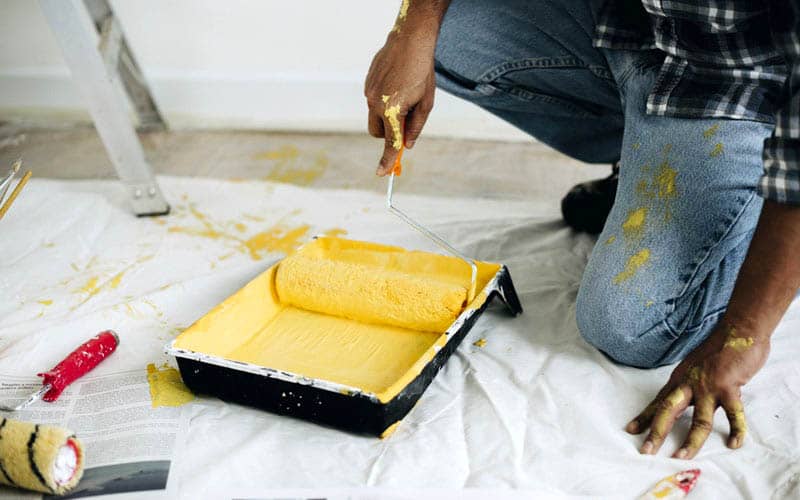
4. Use a Bucket and Screen
There are a few reasons to use a bucket and screen, and not stepping in the paint is one of them. For one, it holds a lot of paint, and two, it is very easy to carry around. Trying to move a full paint tray from one side of the room to the other is not the easiest of tasks. Place the roller about halfway into the paint. Then roll the roller over the screen a couple of times removing any excess paint. Once done rinse out the bucket completely being careful not to leave any paint that can dry. The dry paint, or better known a “boogers,” can be a real headache when mixed with the next batch of paint.
5. Stick to a Pattern
The pattern is the key to covering as much area as possible. Stick to a “W” or “N” pattern, which will cover bigger sections of the wall. Make sure to stick to the wet edge that way there is no room for streaks. Make sure to get as close to the edge of the wall.
Another tip is to complete all brushwork (edges, baseboard, ceilings,) before rolling, due to the differences in look.
6. Under Pressure
Using the right amount of pressure will make a big difference in the final product. Use too much pressure, and a bead line will appear along the edge of the paint stroke. Not enough pressure and one will be painting for days.
Use moderate pressure making sure to lift the roller from the wall to avoid creating a distinct edge. If using a pole extension how the pole is held is important. Hold the pole with the dominant hand and feet should with apart. Keep the roller in front at a level when one can maintain control.
7. Dry Roller
Have a dry roller available to roll after applying the fresh paint. After rolling a fresh coat of paint, lightly go over the paint with a dry roller. This approach will remove any excess paint left behind by the roller ensuring a smooth and clean finish
Conclusion
Well, there it is. A few paint roller tips to help tackle some of the small challenges that can occur when painting. The hopes now are that with these tips, that next painting project will be a masterpiece.
Leave a Reply
You must be logged in to post a comment.